
Sent from my iPhone using Tapatalk


Looks mintpointsnorth wrote: ↑Mon Aug 03, 2020 11:47 am
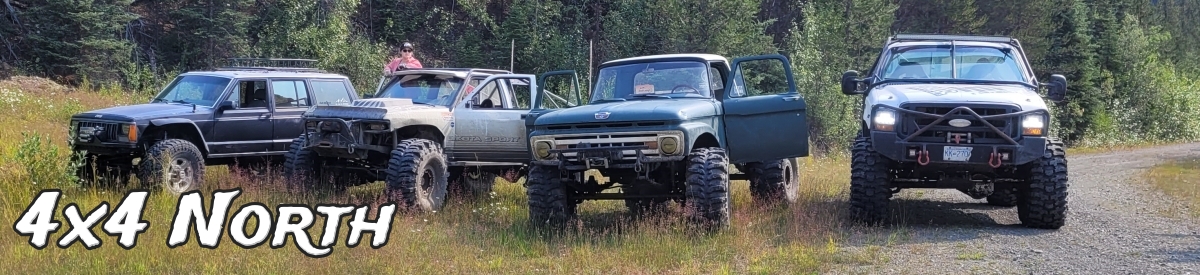
Slapped the cab on the frame again so I can do the upper cage work along with the the coilovers minus the springs. The picture is ride height and I’ve got 4 3/4 inches of up travel which is right in the ball park that I wanted to be.
Sent from my iPhone using Tapatalk


